A glorious comeback with chicken croquettes

It’s been quite a while since my last post. Even the interface of WordPress has changed a little bit (or maybe they do that every other week?)

Anyway. Lots of stuff has happened during this last…well 5 weeks (OMG, I’m breaking a crucial ‘regularity’ rule of any self-respecting blogger).

First, and of course the MOST important thing – I created an account on Instagram. Even two accounts 😉 One for myself and one for my project CheeseBox. It IS quite an event as I’d been avoiding this application for suuuch a long time with everyone around me scrolling and posting and taking selfies and never letting their phones go. Well, now I’m one of these freakish people, too and you can find me at either @valeriyaopanasyuk or @yourcheesebox.

Second, and of course faaaar less important thing – I’ve continued working on my project CheeseBox and we already have lots of our clients who are happily making cheese at home! We still have tons of stuff to do, while current economic situation in Russia is far from welcoming for a small start-ups like us…but ‘When your heart is in your dream, no request is too extreme…’

And finally, I’ve decided that 2015 should become a turning point in my relations with sports and health so now I’ll be posting more of healthy and low-fat recipes to keep us all fit! Just to clarify, I definitely didn’t stick to my sports-and-health new-year resolution during the long holidays in the beginning of January, hogging all sorts of goodies ‘sans cesse’ ;).

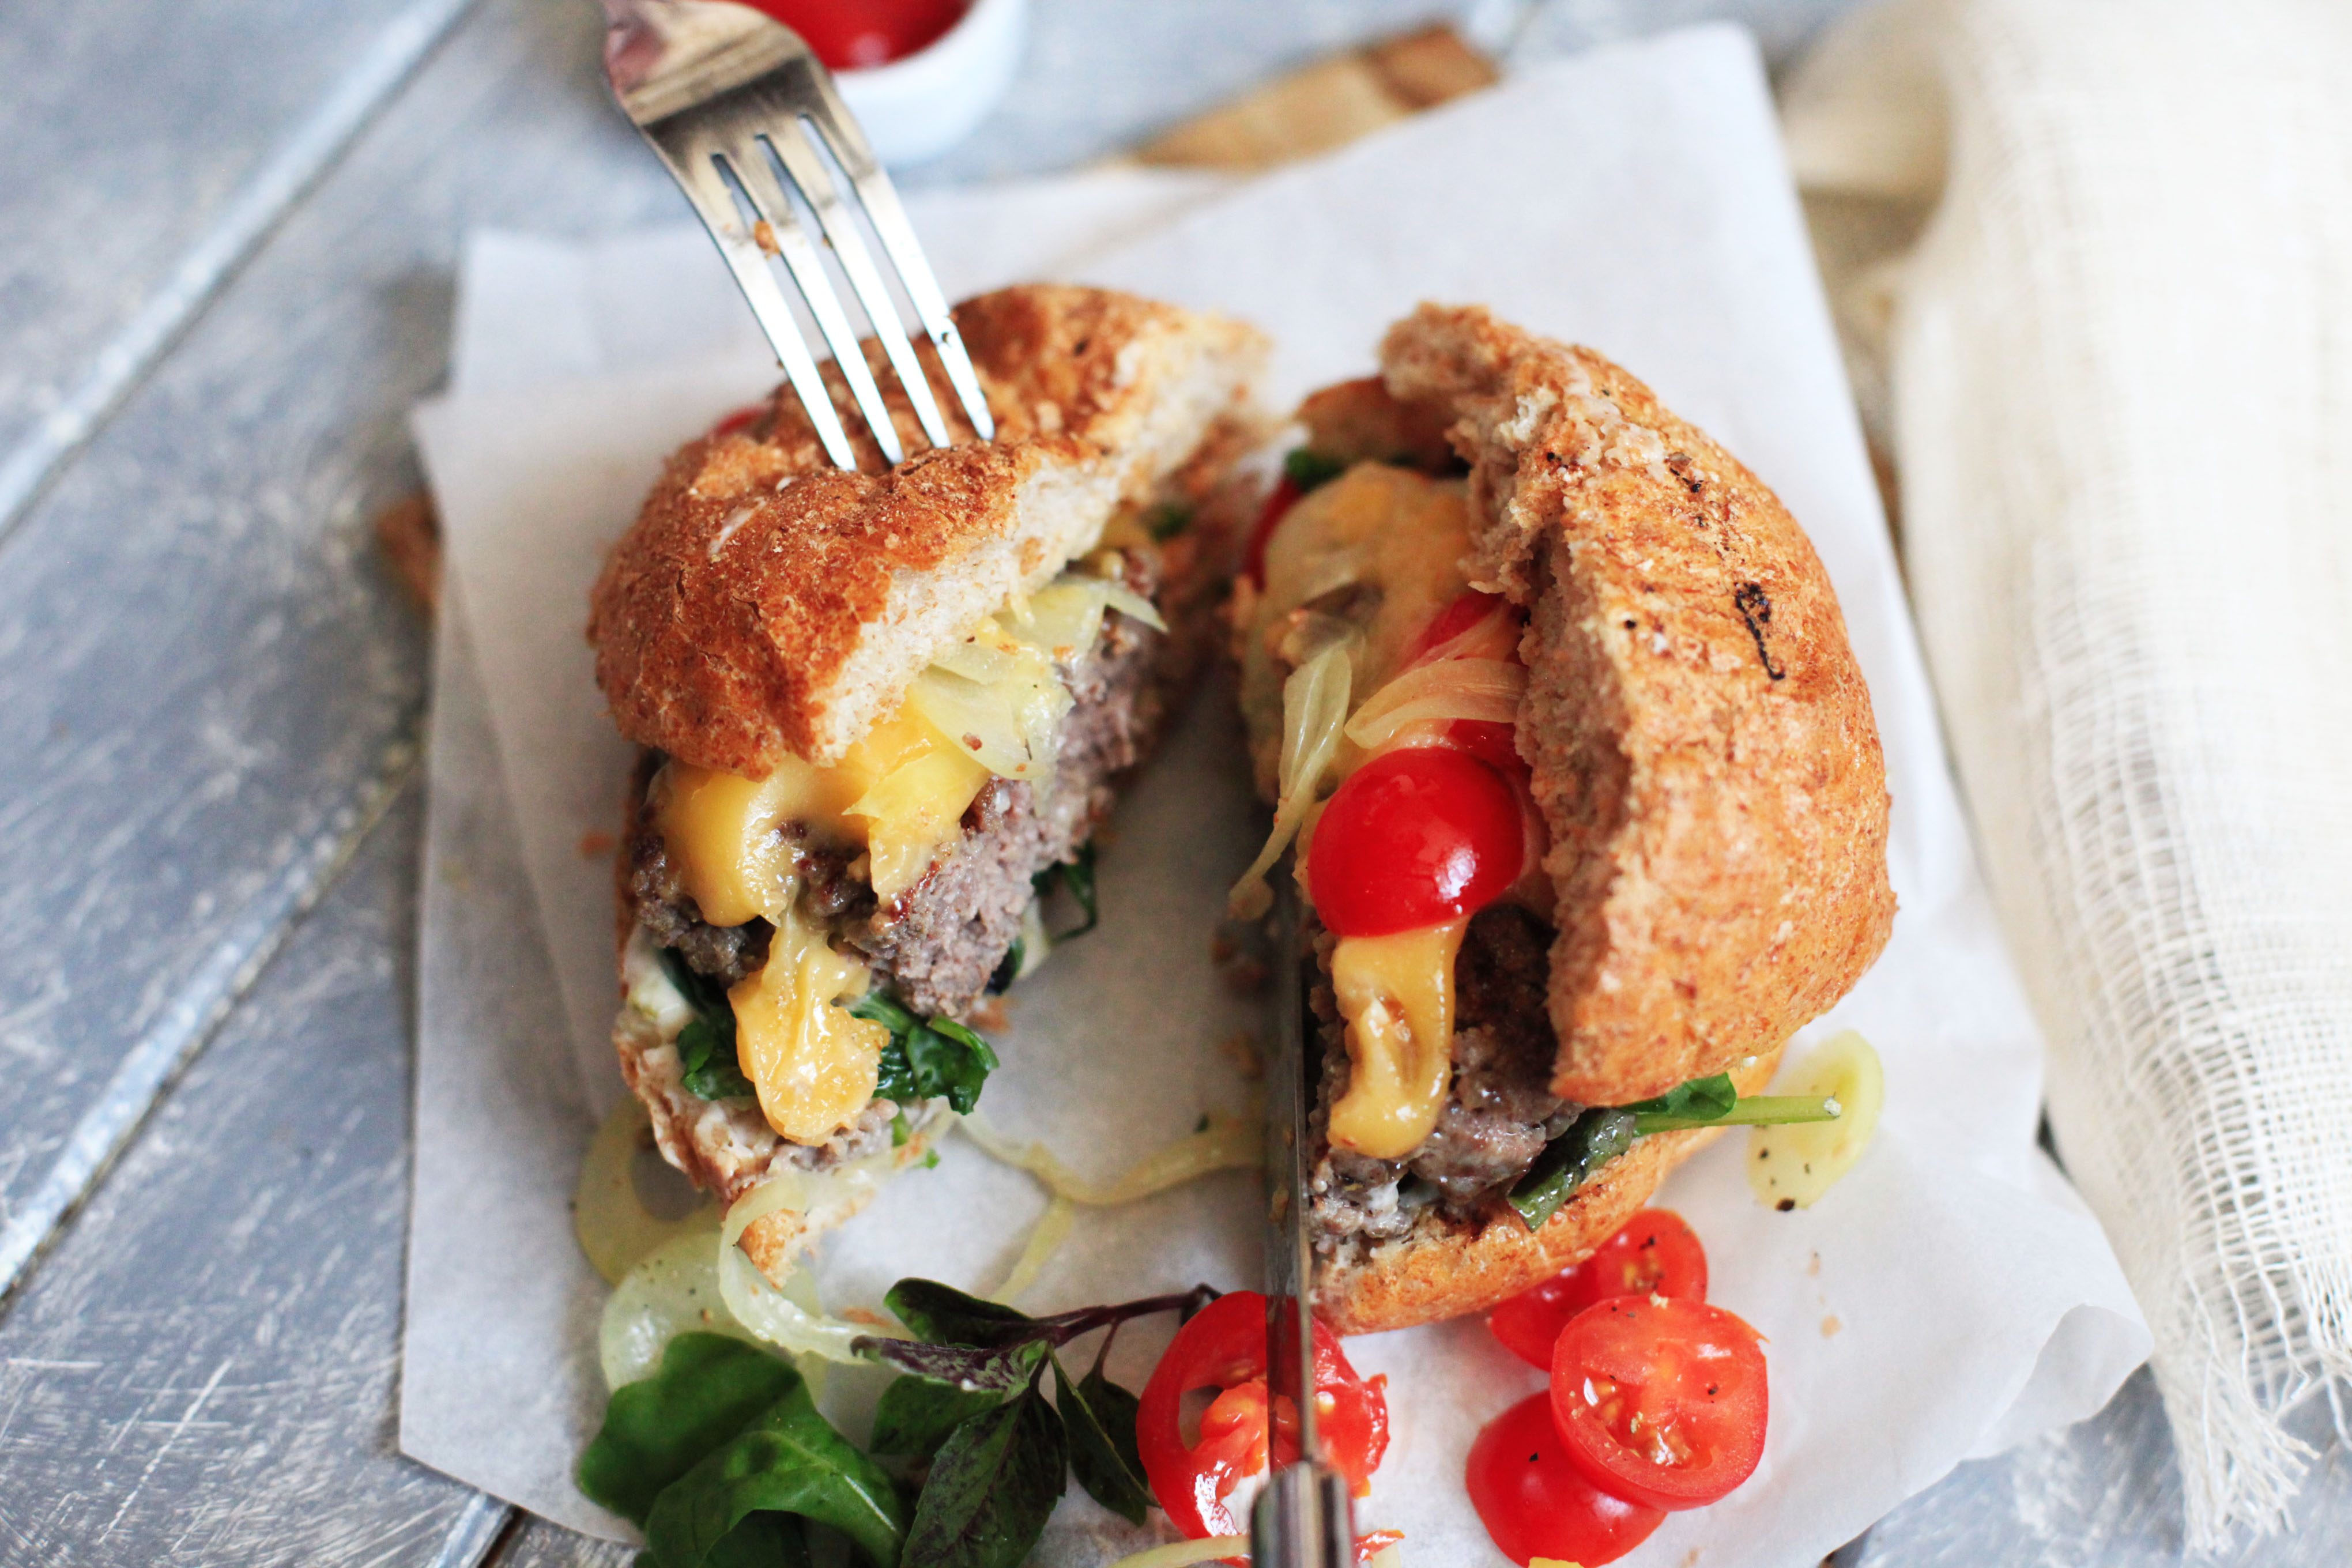
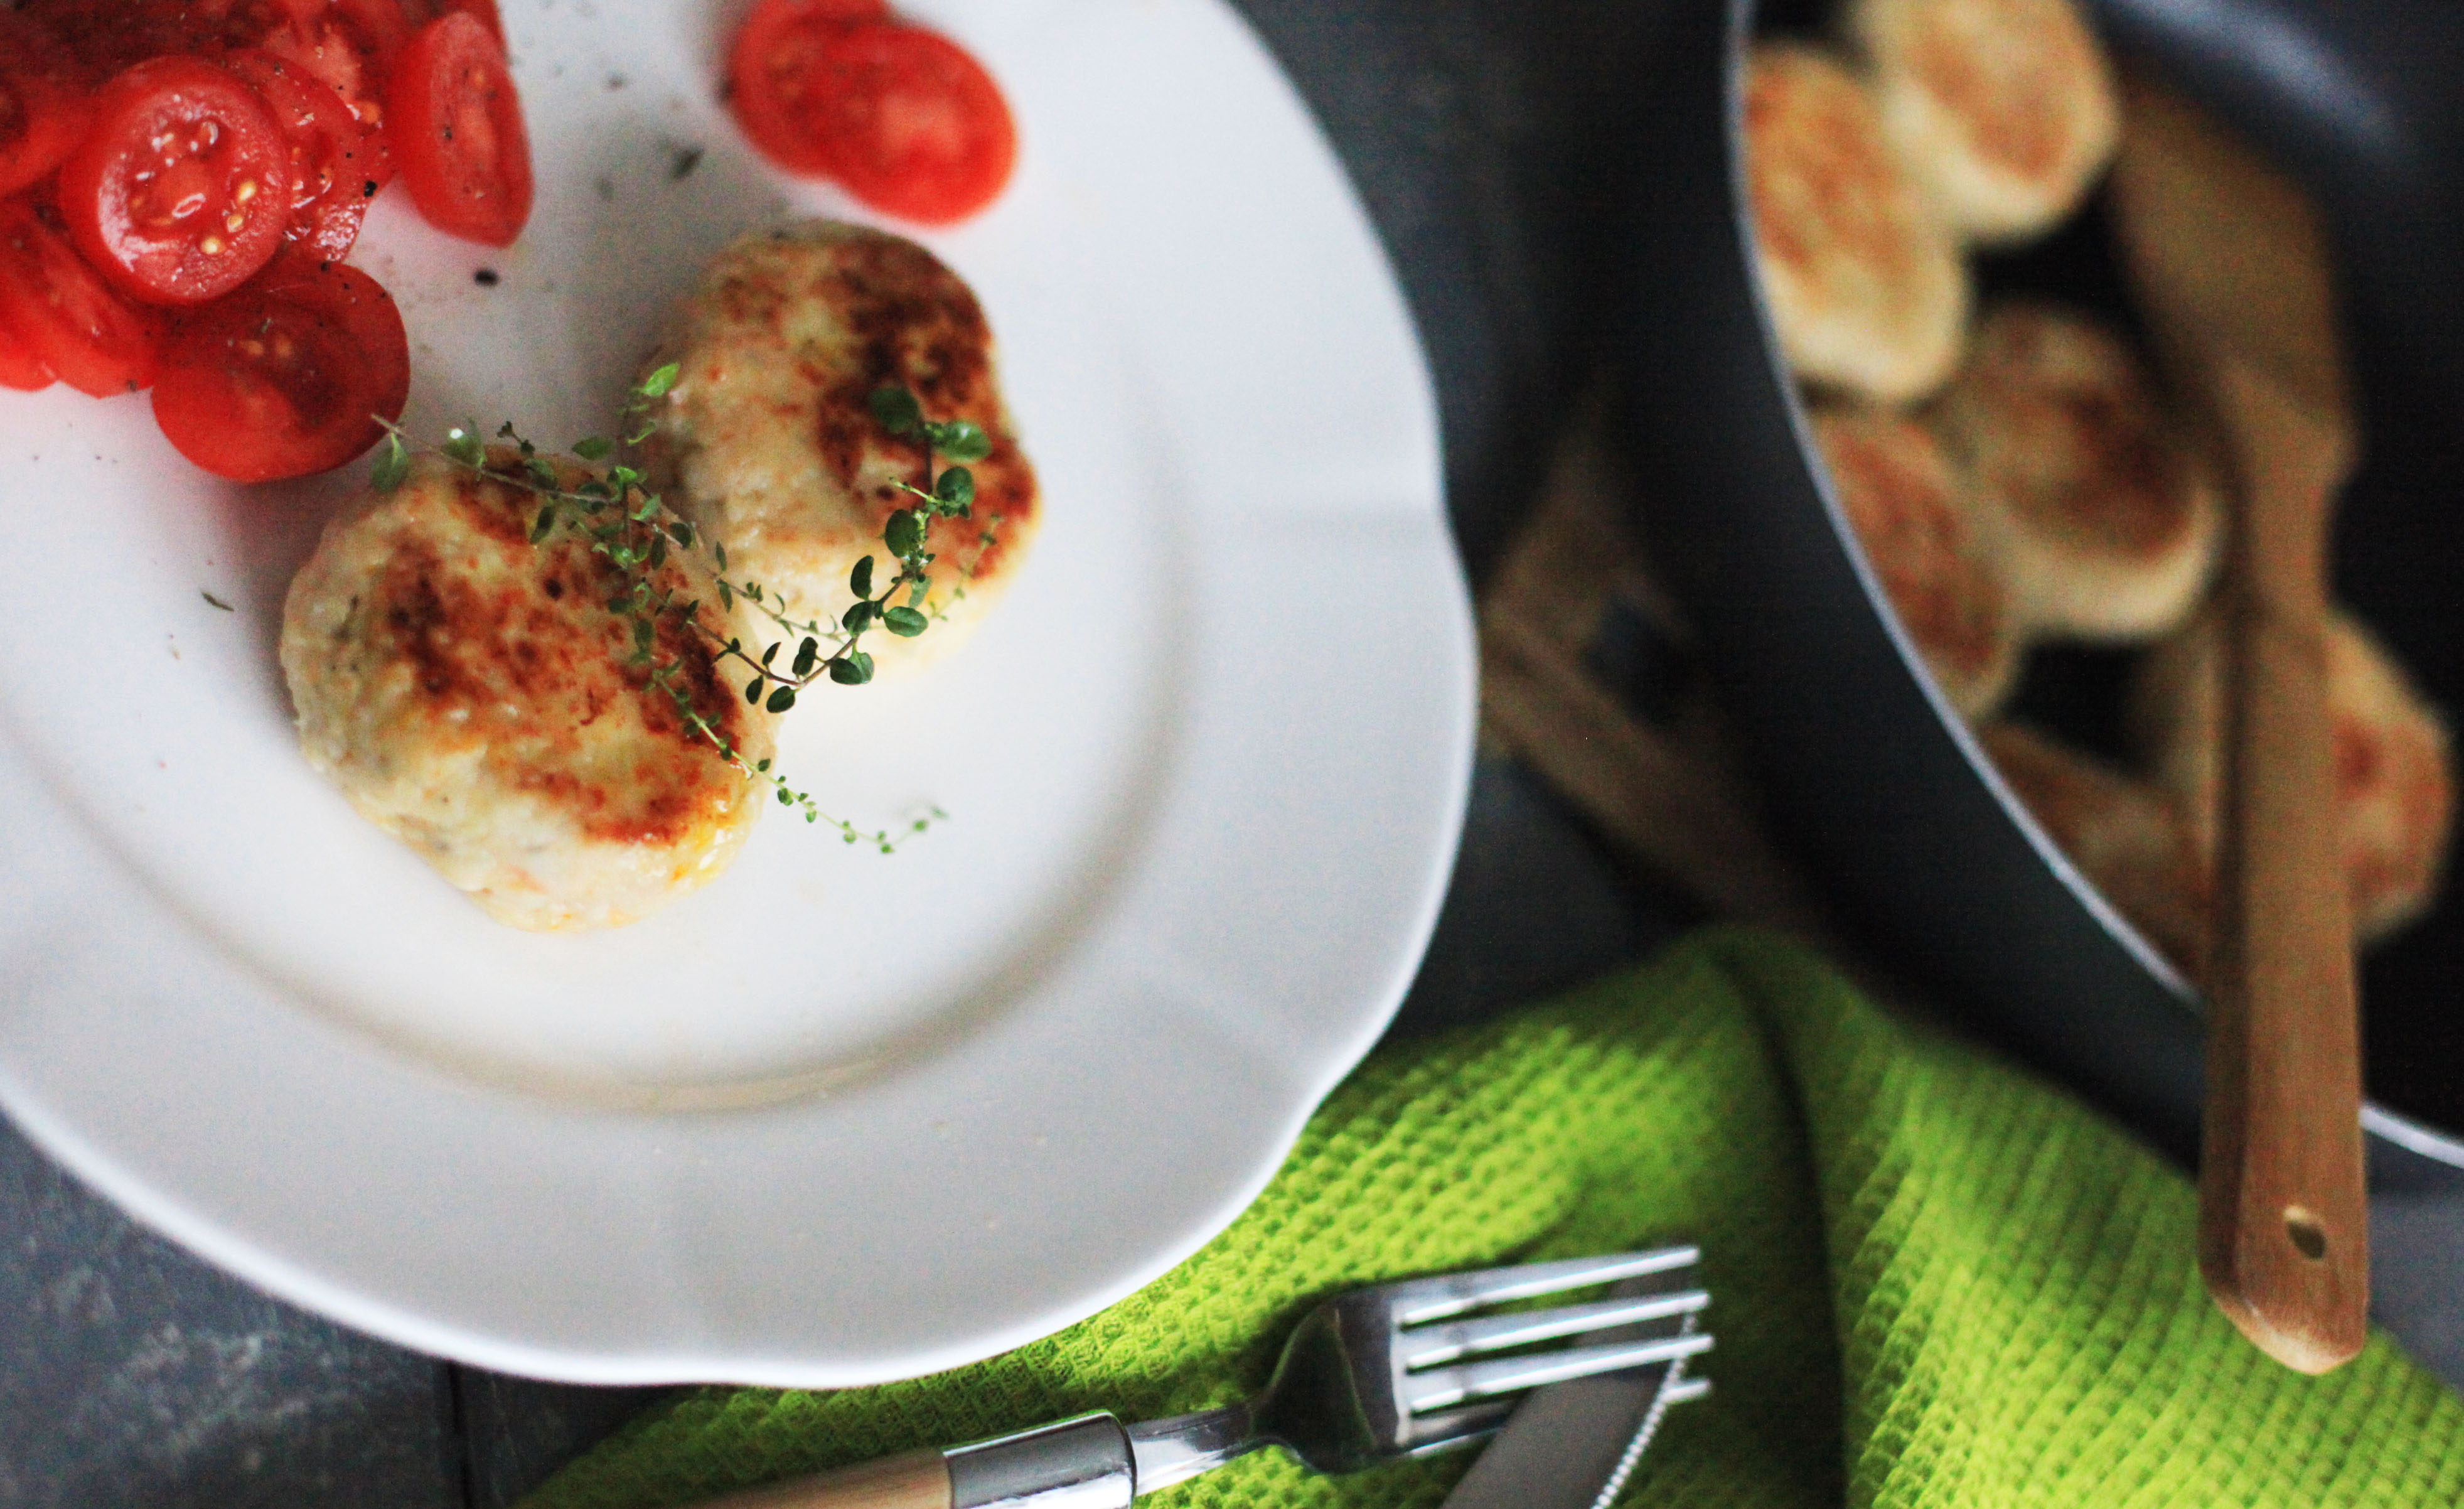
And here comes the first healthy recipe of the year: chicken croquettes with butternut squash. The croquettes themselves are super-light, juicy and tender + you can use bain-marie instead of frying pan to make them even healthier.

Chicken croquettes_3

For the croquettes you will need:

  • 800 g minced chicken fillet
  • 150 g grated butternut squash
  • 1 onion, finely chopped
  • 3 tbsp all-purpose flour
  • 1 tbsp sugar
  • 1 egg
  • 1/2 tsp ginger
  • 1/2 tsp dried thyme
  • 1/4 tsp tumeric
  • 2-3 tbsp olive oil

In a large bowl combine all the ingredients until well mixed. Salt and pepper, to taste. Form small croquettes about 2 cm thick and 5 cm in diameter (when forming, wet your hands with water from time to time). Heat olive oil in a frying pan and roast croquettes for 3-4 min, then turn them, add 50 ml water, cover the pan with a lid and roast for 3-4 min more, until ready and golden brown.

Chicken croquettes_4

Enjoy!

Say ‘no’ to politics and crisis post

I’m not into politics. Not even a tiny little bit. But its influence just keeps crawling into my life with a triplesonic speed. Seriously, how should a normal citizen react when your income, your savings, your EVERYTHING is worth less every single day? Everyone is talking about nothing but rouble depreciation. I do not even work in finance any more, but I can still hear people talking about it basically everywhere. I even overheard a kid of about 14 talking to his friend over the phone about it. And the main problem is (and that is actually what scares me the most) that no one has a faintest idea of what will be next. Where we all will be in just a couple of months.

What I do know though is that we can survive anything. So here comes my culinary ‘no-to-politics-and-crisis-manifest’. An incredibly simple warm and comforting salad recipe made of homemade (or home grown) products:

  • Butternut squash (of my mum’s own growing), cut in medium cubes, 500g
  • 1 onion (of my mum’s own growing, too), minced
  • Arugula (of my own window-sill growing), 100g
  • Curd cheese (homemade by myself), 100g
  • Tomato cherries (well, okay, store-bought), cut in halves, 100g
  • Thyme (of my own window-sill growing, dried), 1/4 teaspoon
  • Honey (bought from local farm), 1 tbsp
  • Salt, sugar and pepper, to taste (hope we won’t run of those in our stores ever)
  • Olive oil (3 tbsp) and balsamic (1 teaspoon) (I will smuggle those if they stop selling them in Russia)

Butternut squash salad 1

Preheat your oven to 200ºC. Place the butternut squash cubes in a baking dish, sprinkle over 1 tbsp olive olive, thyme, a pinch of sugar, season with salt and pepper, to taste. Bake for 15-20 min until soft and a slightly caramelized.

In a medium pan heat 1 tbsp olive oil, add onion, 1 tbsp sugar, season with salt and cook until soft and gold.

In a small bowl microwave honey on HI for about 20 sec, add 1 tbsp olive oil, balsamic, season with salt and pepper and mix thoroughly.

Now combine the salad. Mix arugula, fried onion and roasted butternut squash. Sprinkle over curd cheese.

Butternut squash salad_1

Top with cherry tomatoes and pour over honey and olive oil sauce.

Butternut squash salad_2

Enjoy while still warm. And don’t even think about any politics-and-crisis stuff! Better pour yourself a glass of wine… be tough! (so now I’m into poetry…)

Halloween and burgers…perfect match!

Sooooo… I guess it’s time for a Halloween report…which I’m probably a bit late with, but I’ve already made my peace with the fact that nothing goes well with this year’s Halloween posts (check out my previous post about scary sea bass and you will get a bit of an idea why).

You know how sometimes you are planning something waaay ahead and then it just all turns out to be completely different? Well, that’s exactly what happened this weekend.

First of all, most of us didn’t have any Halloween costumes (although we did have some horse-head masks plus one lovely maid costume which looked even more fantastic with our gorgeous Evgeniya wearing it). Secondly, I was too lazy to cook any Halloween treats in advance (shame on me) so we decided to make burgers which seemed to be a great and simple idea with us going outside of town and with the weather being just terrific. However (what a surprise!), by the time we finally gathered together it was too cold and too dark to grill ANYTHING, let alone taking pictures of the process. Still, the hunger, need-for-meat and a bit of cocktails did their part and we managed to grill the burgers. They turned out to be fantastic! The pictures, however, were not that good, so I went through with our burger experiment at home today (oh no, don’t you think I just wanted another burger?!) and took some nice shots so that you can get an idea of how great they were.

Burger1

For 4 of your own home-made burgers you will need:

  • 4 large soft bread rolls, cut in halves (any of your favourite bread will do)
  • 500 g beef mince
  • 1 onion, thinly sliced
  • 100 g fresh arugula/basil/corn/mangold leaves (use the mix of those you like, I used arugula and basil)
  • 6 cherry tomatoes, sliced
  • 100 g light mayo
  • 3 medium pickles, hashed
  • 4 large slices of any semi-soft cheese
  • 1 tbsp olive oil
  • 1 tbsp sugar
  • 1 teaspoon honey
  • 1 teaspoon grape vinegar
  • a pinch of ground chili
  • salt and pepper to season
  • + a bowl of ice-cold water

Heat 1 tbsp olive oil in a frying pan over medium heat, add sliced onions, sugar, honey and vinegar and stir well. Cook for 3-5 minutes over medium heat until onions are soft and caramelized.

Preheat your barbecue or chargrill pan to high heat. Grill the bread rolls and then lightly butter their insides.

In a large bowl mix together beef mince, ground chili and season with salt and pepper, to taste. Form 4 meat balls and then press the balls flat so that they are the same diameter as your bread rolls. Place the patties in ice-cold water for 30 sec and then immediately place them on the barbecue or chargrill pan. Grill for 4 minutes, then turn the patties, place a slice of cheese on each patty and grill for 4 more minutes.

In a small bowl mix together hashed pickles and mayo.

To assemble the burgers, spread the mayo and pickle sauce on the base of each bun, scatter a handful of salad leaves, put on a cheese-topped patty, top with caramelized onion rings and sliced tomatoes. Cover the burger with the grilled bun top. Enjoy!

Burger2

PS Thank you guys for an amazing evening! I did find some pictures that are not blurred =), although unfortunately not all of our boys were “lucky” to be on those. As for now, Andrey and Filya are our supermodels!

Halloween people

Unexpectedly scary sea bass dinner

Soooo. We are only a few days ahead of Halloween. And I guess, as a self-respecting food blogger, I should’ve posted some sort of ‘Halloween-ishly’ scary recipe. Something like cobweb cupcakes or Jack-o-Lantern kinda cookies. Well, that was the plan! To post something like that a couple of days before the big night and feel absolutely proud of myself for being so involved…

However (does it EVER forebode anything good???) I’ve decided to cook fish today. Nothing special, just a simple sea bass with a bit of veggies. A light dinner, a sort of diet meal which was supposed to make up for all the stuff we’d ate during the weekend. But it turned out to be something quite appropriate for a scary Halloween dinner.

Freaky fish

Can you see its FACE?? It just stares at you! I even had a bit of a trouble eating it, scared of the possibility of this sea bass biting me or whatever (omg, I’m getting crazy =)). Anyway, since the stings of hunger eventually made a mash on my fear of a dead roasted sea-bass, I can tell you, it tasted absolutely amazing.

So okay, here comes a freaky and super simple recipe.

Fresh freaky fish

For a scary sea bass you will need:

  • 2 sea bass, drawn (make sure they have the same scary snouts as mine)
  • 1 lemon
  • some fresh thyme
  • 1 tbsp olive oil
  • salt and pepper to season

For a honey-vegetable sauteé you will need:

  • 2 courgettes
  • 1 carrot
  • 2-3 shallots
  • 1 teaspoon lemon juice
  • 1 tbsp honey
  • 1 tbsp olive oil
  • salt, pepper, and dried thyme to season

Preheat your oven to 200ºC. Make X-shaped cuts in your sea bass, rub the fish with salt and pepper, stuff it with lemon pieces and fresh thyme and place the fish on a baking tray covered with a baking sheet. Spray some olive oil over the fish and top it with fresh thyme and lemon slices. Bake for 25 min.

Freaky sea bass

Prepare honey-vegetable sauteé. Heat olive oil in a large pan. Slice the shallots, cut courgettes (I usually peel off the skin and scoop out the seeds, but that’s up to you) and carrot into sticks. First fry shallots for c. 1 min, then add courgette and carrot sticks and fry for 3 more minutes. Meanwhile, microwave the honey mixed with lemon juice for 20 sec on ‘High’. Pour the honey-lemon mixture into the pan and fry the veggies for 2-3 more minutes. Season with salt, pepper and dried thyme, to taste.

Enjoy with something like Ray Charles’ ‘Georgia on my mind’ on the background (to distract you from the intimidating face of the sea bass) and an ice-cold glass of white wine (to distract you from any other problems =)).

Homemade pizza time!

You know how they say you have to try everything once? Well, I’m not sure that it has to be literally ‘everything’, but some stuff is definitely worth trying. And as this is only a food blog here, I won’t be saying that ‘some stuff’ includes things like snuggling a panda, living in a different country, going on a road trip or whatever other things these ’50 things-you-have-to-do-before-you-die’ lists suggest (to be honest, I do want to make my own bucket list and mark it all as ‘done’).

Still, there are some culinary experiences that I think everyone should live through. And yesterday I took one of these off my culinary bucket list. Together with my friend Nastya (who is equally obsessed with food and cooking as I am) and my fiance (who is not obsessed with cooking at all, however is not averse to degustating and thus agreed to take the pictures of the cooking process) we made our first-ever super delicious homemade pizza!

Pizza_3

For the topping we used 3 types of cheese (mozza, semi-soft cheese and curd cheese) + pear bits + honey-caramelized king prawns. The process turned out to be way easier than I’d assumed + it was super fun! So we ‘bindingly confirm’ (I love the word!) that pizza-making is super simple and you should really give it a try if you’ve never done it before!

Pizza people

For the dough of your own super delicious homemade pizza you will need:

  • 300 g all-purpose flour
  • 200 ml filtered water
  • 3 teaspoons baking powder
  • 1 tbsp olive oil
  • 1 1/2 teaspoon salt

For the topping of your own super delicious homemade pizza you will need:

  • 400 g canned chopped tomatoes
  • 250 g mozzarella, grated
  • 150 g curd cheese
  • 100 g semi-soft cheese, grated
  • 1/2 pear, diced
  • 12-15 king prawns, shells off
  • 1 tbsp honey
  • 2 tbsp olive oil
  • 1 tbsp sugar
  • some fresh basil and thyme leaves
  • 1-2 garlic cloves, minced
  • salt, pepper and dried herbs to season

Pizza_ingredients

Prepare the dough. In a large bowl mix together flour, salt and baking powder, then add oil and water and stir until well mixed (if the dough is too stiff, add some more water). On a surface sprinkled with flour knead the dough for several minutes until smooth. Roll out the dough (till it’s 2-3 mm thick) and put it on a grill.

Pizza dough_MN


Prepare the sauce. In a large pan heat 1 tbsp olive oil and then add canned chopped tomatoes, sugar and chopped basil leaves. Cook for 2-3 min till the sugar is fully dissolved. Season with dried herbs, pepper and salt, to taste. Take off the heat and set aside to cool for 5-7 min.

Prepare the honey-caramelized prawns. In a small pan heat 1 tbsp olive oil, then add shell-free king prawns and honey. Cook for 2-4 min until golden brown. Season with salt, to taste.

Spread the sauce over the dough, then scatter over the cheese evenly, then add pears and caramelized prawns, put some thyme and minced garlic on top and give the pizza a final season with salt and pepper.

Pizza process

Bake for 15-25 minutes until the cheese is bubbly and golden and looks something like this:

Pizza_2

Enjoy momentarily while still hot… and while there’s still any pizza left (we ate ours in just a couple of minutes =) ).

Simple sour-and-sweet autumn dinner idea

Sometimes I get so preoccupied with the stuff I’m doing that when I’m back to reality from whatever it is I was up to I realize that (1) I haven’t eaten for a whole day, (2) my cat hasn’t eaten for a whole day, (3) my cat made such a mess in the apartment that I wish she doesn’t eat at all, (4) my fiance will be home in just half an hour and I have nothing for dinner neither for him, nor for myself. As I’m all into learning German and tons of other things that I’m doing now to make up for my ‘lost’ time at work, this situation has become quite common lately. And you know, sometimes you simply don’t feel like cooking anything sophisticated. You just need a simple, still a very tasty meal.

One of my favourite choices for these times is chicken – I usually have some in my fridge and there’re soooo many easy ways of cooking chicken that I never get tired of it.

Next time you are short of time or just have something more fun (or important) to do than cooking, you should really try this recipe of tender, sour-sweet honey-mustard-lemony baked chicken.

Honey mustard chicken ingredients

I also used some lemon zest and lemon juice which add some slightly sour taste and freshness – but that’s completely up to you.

So, first of all, preheat your oven to 200°C. In a small bowl whisk together dijon mustard, honey, 1-2 tbsp lemon juice, 1 teaspoon lemon zest and crushed garlic cloves. Season chicken thighs with salt and pepper and place them in an oven-proof dish. Pour over the honey-lemon-mustard sauce and spread it evenly over the thighs with a food brush.

Honey mustard chicken_in sauce

Bake the thighs for 35-45 min until cooked through and golden brown (I recommend to grease the thighs a couple times while baking with the exuding chicken juice).

Enjoy the thighs while still hot with a fresh vegetable salad or baked veggies!

Honey mustard roasted chicken

PS What do you cook when you don’t actually feel like cooking?)